How to document your work for upload to AP Central
1. Use a Digital SLR camera with a macro lens (55mm) if you have access to one. 10 megapixels is a about right.
2. Photograph your work on the floor or angled with a black felt photographic backdrop in full natural light. If you photograph indoors be sure to keep windowframe shadows off the work.
3. Import your photos into a new folder and don't delete the camera images until you have two backups on separate media (example: your laptop and on DropBox)
4. Edit your images in a program like PhotoShop, GIMP, or Paint.net(GIMP and Paint.net are both free for download online).
5. Open your documents in your image editor
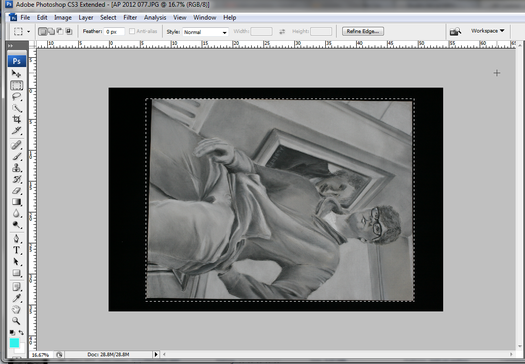
Save your file into your new destination folder right away with a new file name. Otherwise, you risk losing your source image and you can't go back if you make a mistake. Its a great idea to save it as a .tiff or .png file right away because those are archival formats. I converted about 40k photos into .png to preserve them for later. Almost 10k were corrupted beyond repair. Save smart or lose your work!
6. Skew your image
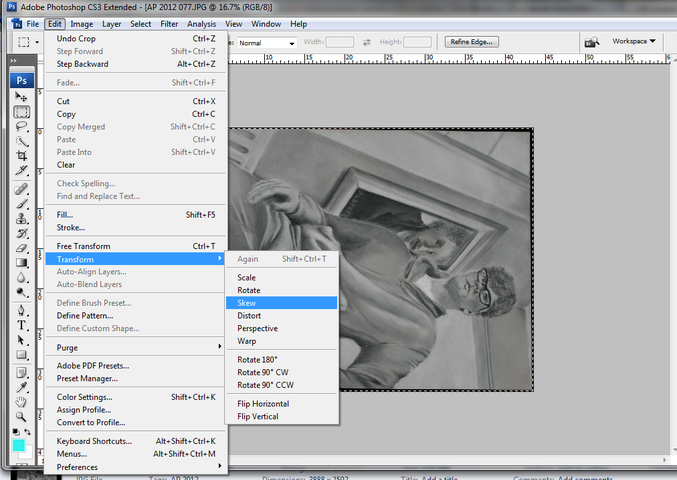
Select all and then click on Edit>Transform>Skew. This will let you repair the natural lens distortion and return your image to a proper rectangle.
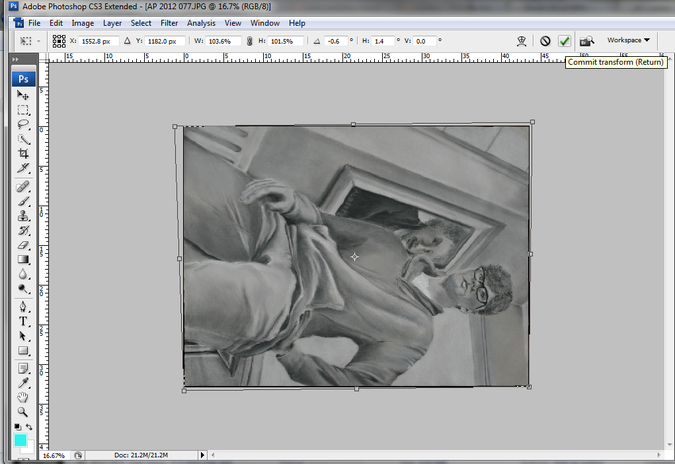
7. Click the check mark to complete the transformation
8.
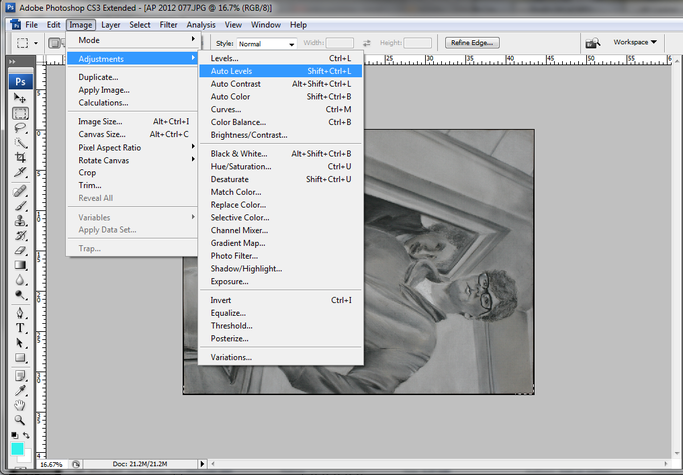
Use Auto Levels to get an idea of what the image can look like. I recommend against using Auto because you will lose vital shades and hue gradients, especially with graphite and charcoal work. It gives you a sense of where to aim your changes, however. Don't accept your changes, hit cancel or back after you see your work.
9. Zoom in to Actual Pixels
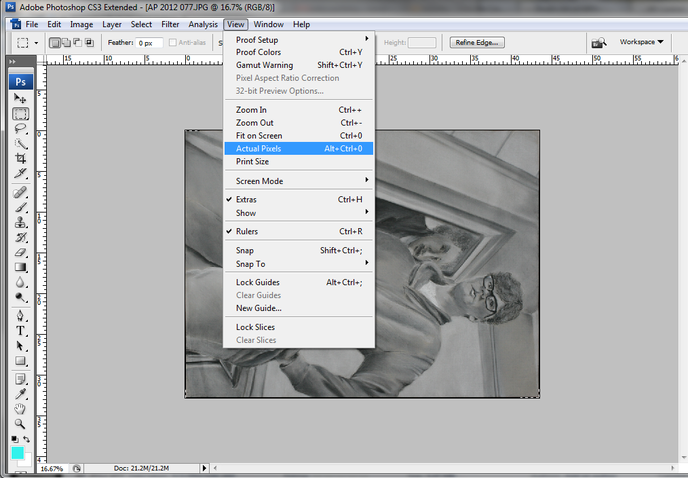
And pick an area of your work with high contrast and mid tones. That way you will be able to see what happens to your mark making and each pencil or brush stroke.
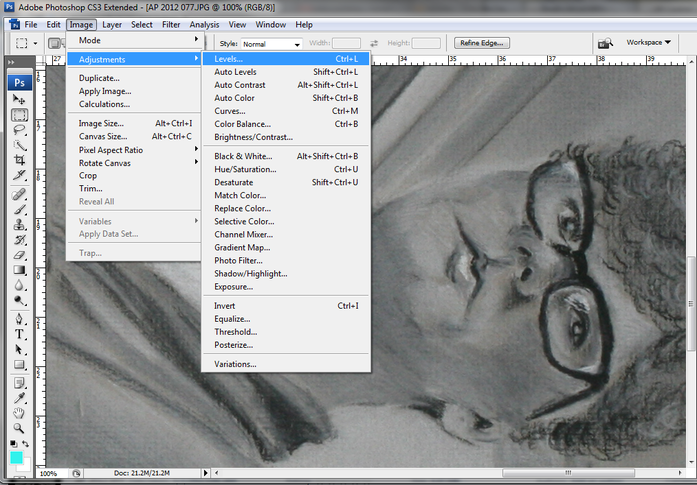
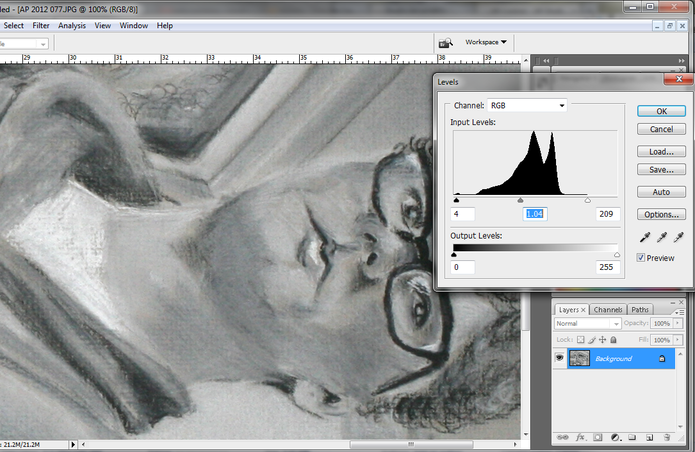
10. Once you have "Actual Pixels," then select Image>Adjustments>Levels
11. Move the little triangles in to match the photo information graph. Don't eliminate connected lines either, watch how your image changes as you adjust them. The white triangle sets the whitest point, the black the darkest dark and the gray sets the center point. Set the white point, then the black. Once you have that done, the gray part is the key. Watch carefully and try to preserve every mark and shade you can while preserving the brightest and the darkest values.
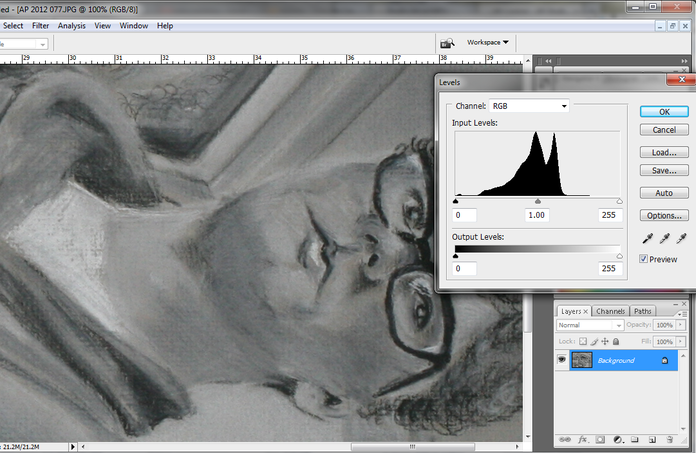
12. Notice that the triangles are as conservative as possible.
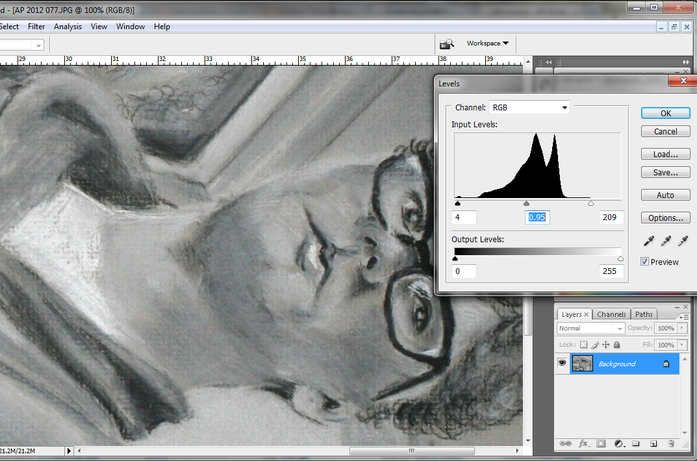
13. In this case, the best image was hardly a change of the gray triangle. As a general rule, I tend to edit with the least amount of change possible. Admittedly, I was trained on film cameras, so I have a bias towards valuing the moment of light capture above all else. Not everyone thinks this way and maybe they shouldn't. In this case, however, your pictures are evidence of actual work. So, the most honest way to edit is to improve the photo but not to change the work you are documenting. This is an ethics issue.
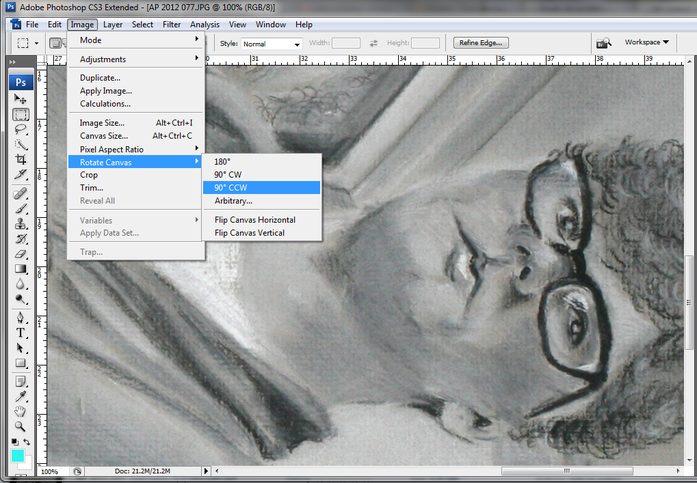
14. I waited to rotate until now so I could see the most of the image as possible.
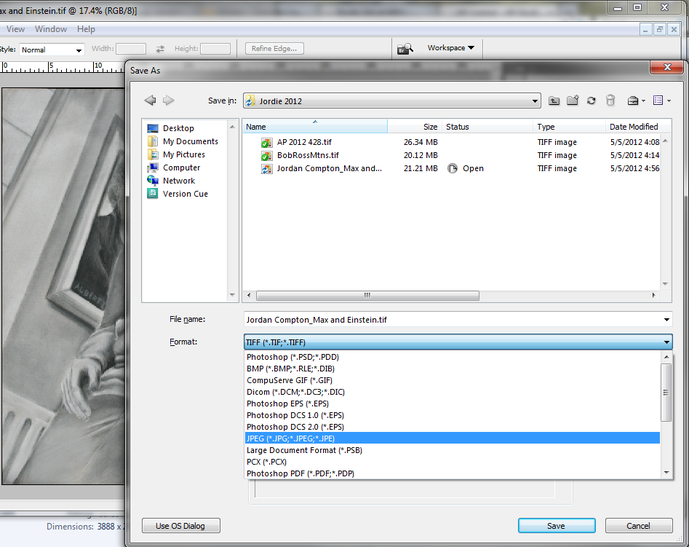
15. Save file as a .tiff if you have not already renaming the file from the numbers the camera assigned to the image.
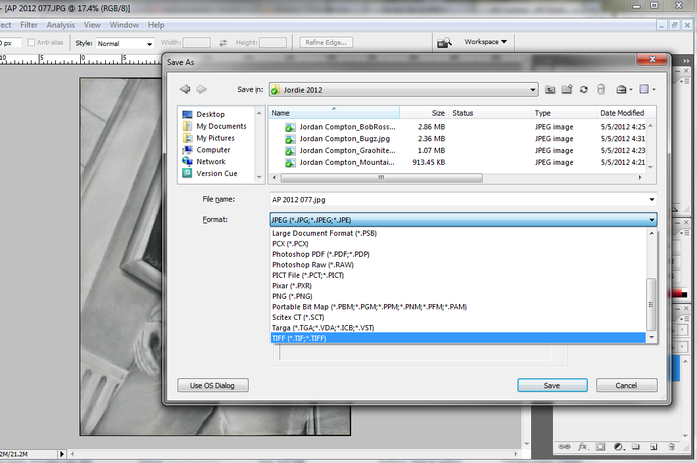
16. Save the .tiff into your folder, not where the photos were imported. If you don't mind your file organization etiquette, mistakes get made and the mess is awful over the long-term. Do your work right and you only have to do it once. Do it wrong and you have to re-do it every time.
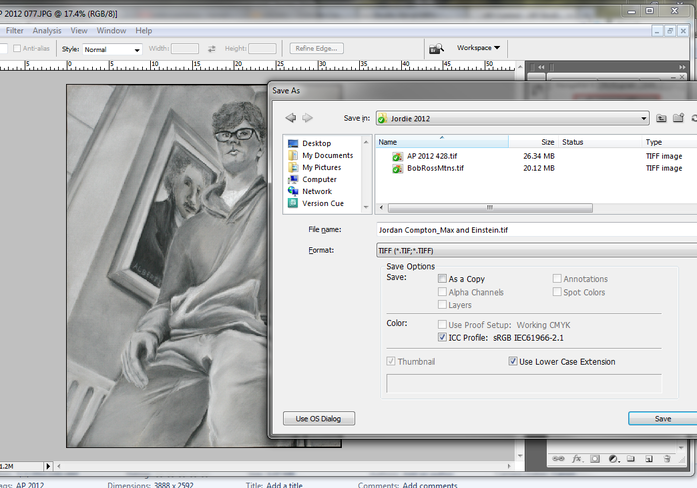
17. Pick these .tiff options
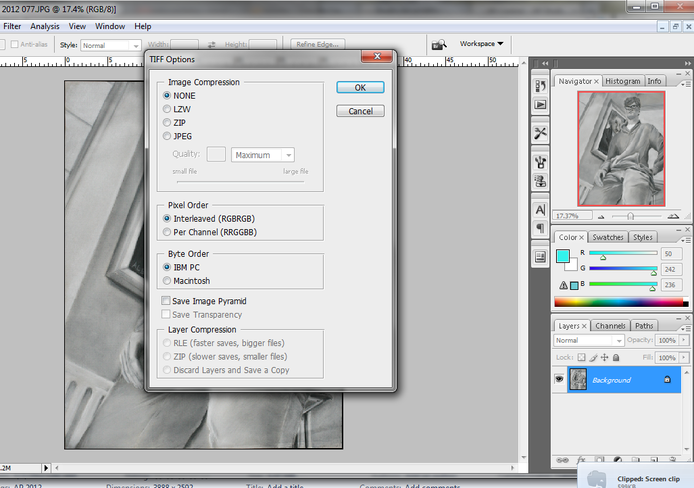
19. Now re-save the file as a .jpeg The .tiff is for archival purposes. The .jpeg (or .jpg) is for upload to APCentral.
20.
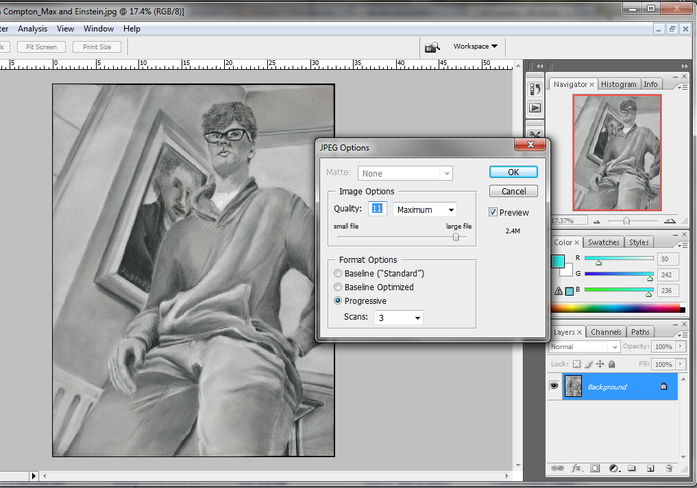
Save your file as less than 3mb. If you look below the preview checkbox and the OK and Cancel buttons on the JPEG Options dialog box, you see that this file ended up as 2.4M (megabytes/mb)
Now you are ready to upload your file to APCentral. The upload link and school code is on our PBWorks AP page. As always, email me questions or talk to me at school!
Sources and Credits:
Drawing by Jordan Compton, MPA 2012
Now you are ready to upload your file to APCentral. The upload link and school code is on our PBWorks AP page. As always, email me questions or talk to me at school!
Sources and Credits:
Drawing by Jordan Compton, MPA 2012
